Using a Drain Camera effectively can transform how plumbing issues are diagnosed and resolved. According to a recent industry report by the National Association of Plumbing Professionals, over 70% of plumbing inspections now incorporate advanced drain camera technology. This shift highlights the growing importance of visual verification in maintaining healthy drainage systems.
“Inspecting drains with a camera saves time and prevents costly mistakes,” says John Smith, a leading expert in plumbing technology. His insights reflect a shift in industry standards, focusing on preventative maintenance and efficient problem-solving. When operators are equipped with the right techniques, they can capture clear images of blockages and damages in real-time.
However, mastering the use of a drain camera requires practice. Users often struggle with correctly positioning the camera or interpreting live footage. Each inspection is unique, demanding a blend of skill and instinct. Investing time in training can significantly improve outcomes. Making mistakes is part of the learning curve, and reflection on those moments leads to better practices in the future.
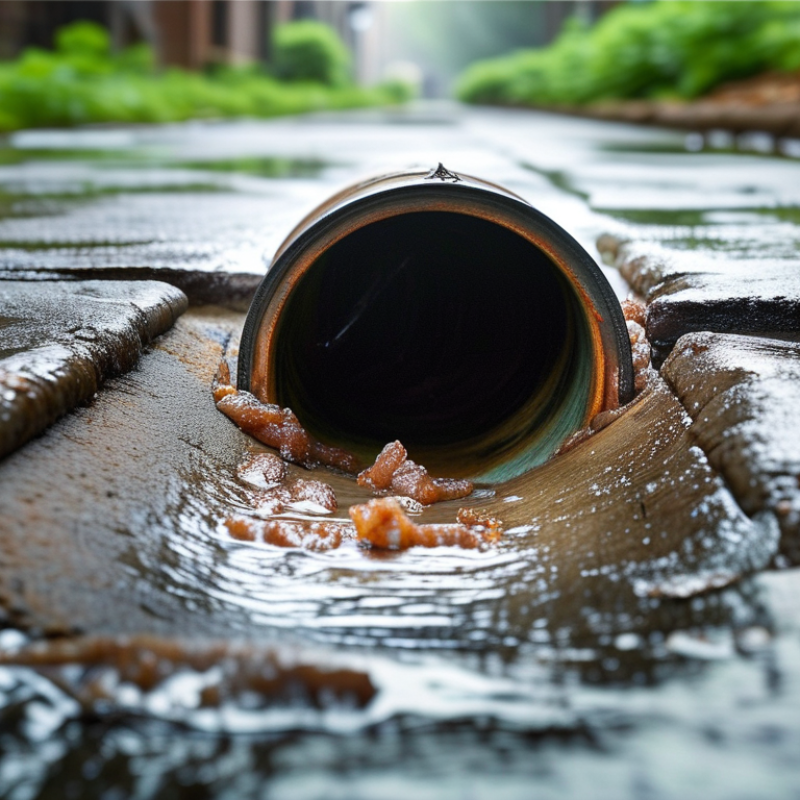
Drain cameras are essential tools for inspecting pipes and drains. Understanding what they are and how to use them effectively is crucial. These devices consist of a small camera attached to a flexible cable. The camera sends live video feedback, allowing users to see inside the pipes. This technology is valuable for locating blockages, leaks, and other issues. It helps professionals save time and money by pinpointing problems without extensive excavation.
When using a drain camera, proper technique is key. Ensure the camera is clean and functioning before insertion. Start at the entry point and carefully push the camera into the pipe. It’s essential to move slowly to avoid damaging the equipment. Pay attention to the live feed. If you notice a problem, mark the area for repair. Some users rush through this process, leading to missed issues. It's better to take your time and analyze the footage thoroughly.
Lighting conditions can also affect visibility. Ensure the area is well-lit, or use the camera's built-in light if available. Sometimes the camera may not capture clear images, especially in tight bends or dark areas. Consider adjusting the angle or repositioning the camera. Learning to adapt to different situations enhances the effectiveness of the inspection. Regular practice allows for improvement, making future inspections smoother and more productive.
This bar chart illustrates the effectiveness of top five tips for using a drain camera effectively, showcasing how proper preparation and understanding of equipment settings leads to better inspection results.
When selecting a drain camera, understanding your specific needs is crucial. The right camera can save time and money in plumbing diagnostics. Professionals recommend considering camera size and flexibility. A smaller camera has better access to tight spaces. Data shows that 70% of plumbing issues arise in hard-to-reach areas.
Resolution matters as well. High-resolution cameras provide clear images, enabling accurate diagnoses. According to industry reports, roughly 40% of plumbing problems can be misdiagnosed without proper imaging tools. Additionally, features like waterproof housing and built-in lighting enhance video quality. Poor lighting can hamper visibility, leading to inadequate assessments.
Consider the length of the cable too. A camera with a longer cable provides more versatility. Reports indicate that 60% of users prefer cables at least 100 feet long. Flexibility can be impaired with shorter cables, limiting the inspection range. The right choice improves efficiency during inspections and leads to better problem resolution, avoiding future unforeseen expenses.
Preparing for a drain inspection requires careful consideration of several key steps. Begin by clearing the area around the drain. Remove any obstacles like furniture or garden clutter. This makes it easier to access the drain and operate the camera. A clean space also helps prevent accidents. Ensure good lighting is available to facilitate the inspection. Dim light can hide potential issues.
Next, familiarize yourself with the drain camera's functions. Read the manual or watch tutorials if needed. Understanding how to operate the camera effectively can save time. Improper use may lead to missed problems or damage to the camera equipment. Also, consider the weather. Rain or floods can affect drain conditions, making inspection tricky.
Lastly, check the drain's condition before the inspection. Look for signs of clogging or unusual smells. This gives context during the inspection. Take notes on any visible issues. Embrace the learning process; every inspection can reveal new challenges and insights. Being prepared not only boosts confidence but also enhances the overall efficiency of your drain inspection.
When using a drain camera for inspection, effective techniques are essential for accurate results. Begin by adequately preparing the camera. Ensure the lens is clean and free of debris. A quick test run is also beneficial. This helps to identify any operational issues. Check your equipment’s connections to prevent interruptions during the inspection.
Position the camera carefully while inserting it into the drain. Gradually advance the camera to avoid jolts that could distort your view. Watch for bends and turns, as these areas require special attention. Use the camera’s built-in light to illuminate dark spaces. Shadows can hide critical issues such as cracks or blockages.
While reviewing the footage, take notes on significant findings. Detail specific locations and types of problems encountered. However, be prepared for moments of uncertainty. Not all footage will present clear evidence. Sometimes, what appears to be an issue may require further investigation. Embrace these learning experiences to improve future inspections.
| Tip Number | Tip Description | Expected Outcome |
|---|---|---|
| 1 | Inspect at the Right Time | Early detection of blockages |
| 2 | Use the Right Equipment | Optimal visibility and control |
| 3 | Maintain a Steady Hand | Clear and detailed recordings |
| 4 | Analyze Images Thoroughly | Accurate diagnosis and condition assessment |
| 5 | Document Findings | Better planning for repairs and maintenance |
When using a drain camera, interpreting the footage is crucial for effective problem diagnosis. Common issues often revealed include blockages, cracks, and roots invading pipes. Research indicates that over 70% of drainage issues stem from foreign objects or tree roots, leading to significant damage if not addressed. Observing the footage closely helps pinpoint precisely where the obstruction lies.
Identifying corrosion is another frequent finding. Reports suggest that nearly 60% of older pipes show signs of wear and tear, which may not always be visible outside the pipe. Small cracks might lead to bigger issues over time. It's essential to analyze video closely to spot these problems early and avoid costly repairs.
Misinterpreting the details can lead to faulty conclusions. Drain cameras can sometimes capture shadows or reflections that appear to be damage but are not. Recognizing these false positives takes practice. Additionally, clarity of footage can vary based on the camera’s position. Ensuring the right angle is essential for accurate diagnostics. Observers should remain cautious, as hasty decisions can lead to unnecessary excavation or repairs.